Wall Map
I like maps. Me buying my first mini A-Z map at university just as google maps was getting popular seemed a bit ridiculous but the idea of having a quick glance of where things were without waiting for a page to load and the physicality of it still made it enticing.
Later on, I purchased a giant world map. All of us in the flat including guests put down where we visited using nail varnish, the go-to student marker of choice, and this lead to a rich story of journeys and ideas.
Last year I saw a post by Dominik on his world wall map (side note: I really need to work out how to layout blog posts like that). I was impressed by the quality and the detail looked great. While Dominik paid a lot of money for this, I’m sure I could do the same for cheaper and smaller.
Finally I wanted a purpose for the map. Dominik is using it to place markers for places he travelled to and for me a smaller map of just Manchester would be ideal but marking all the places I visited wouldn’t be enough. I decided on placing markers for food places (takeaway and eat-in) and then working on a way to label and review each one with someway of making that review available to people looking at the map.
Wall map design
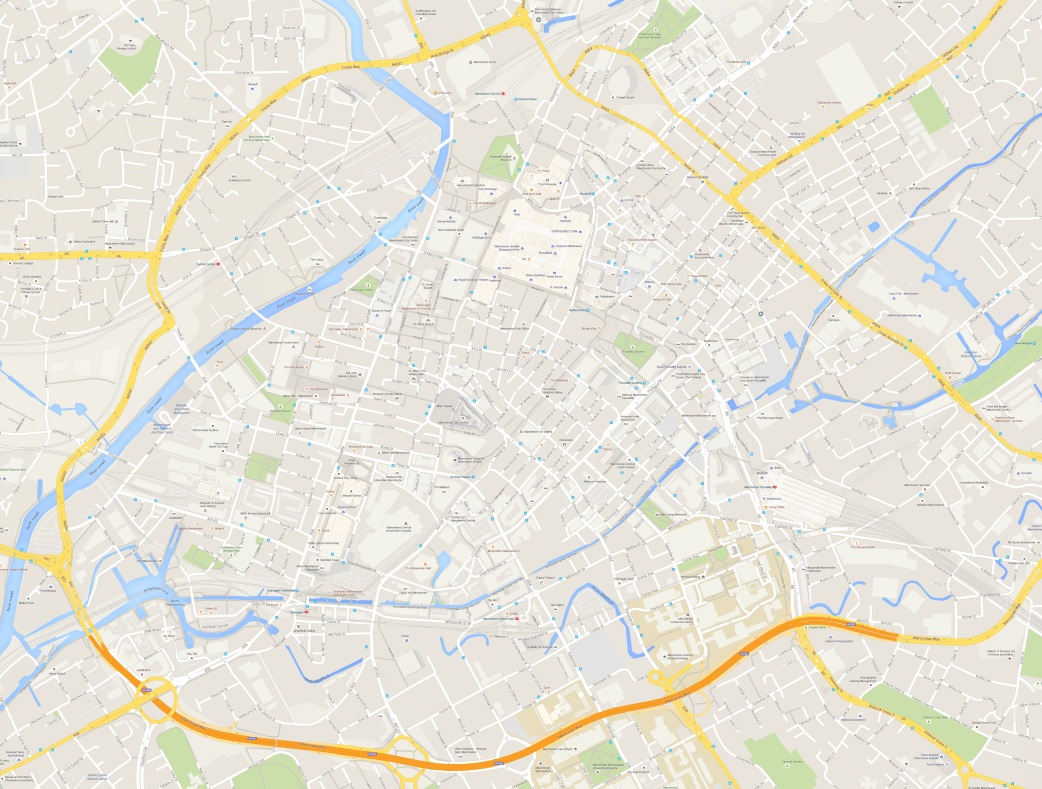
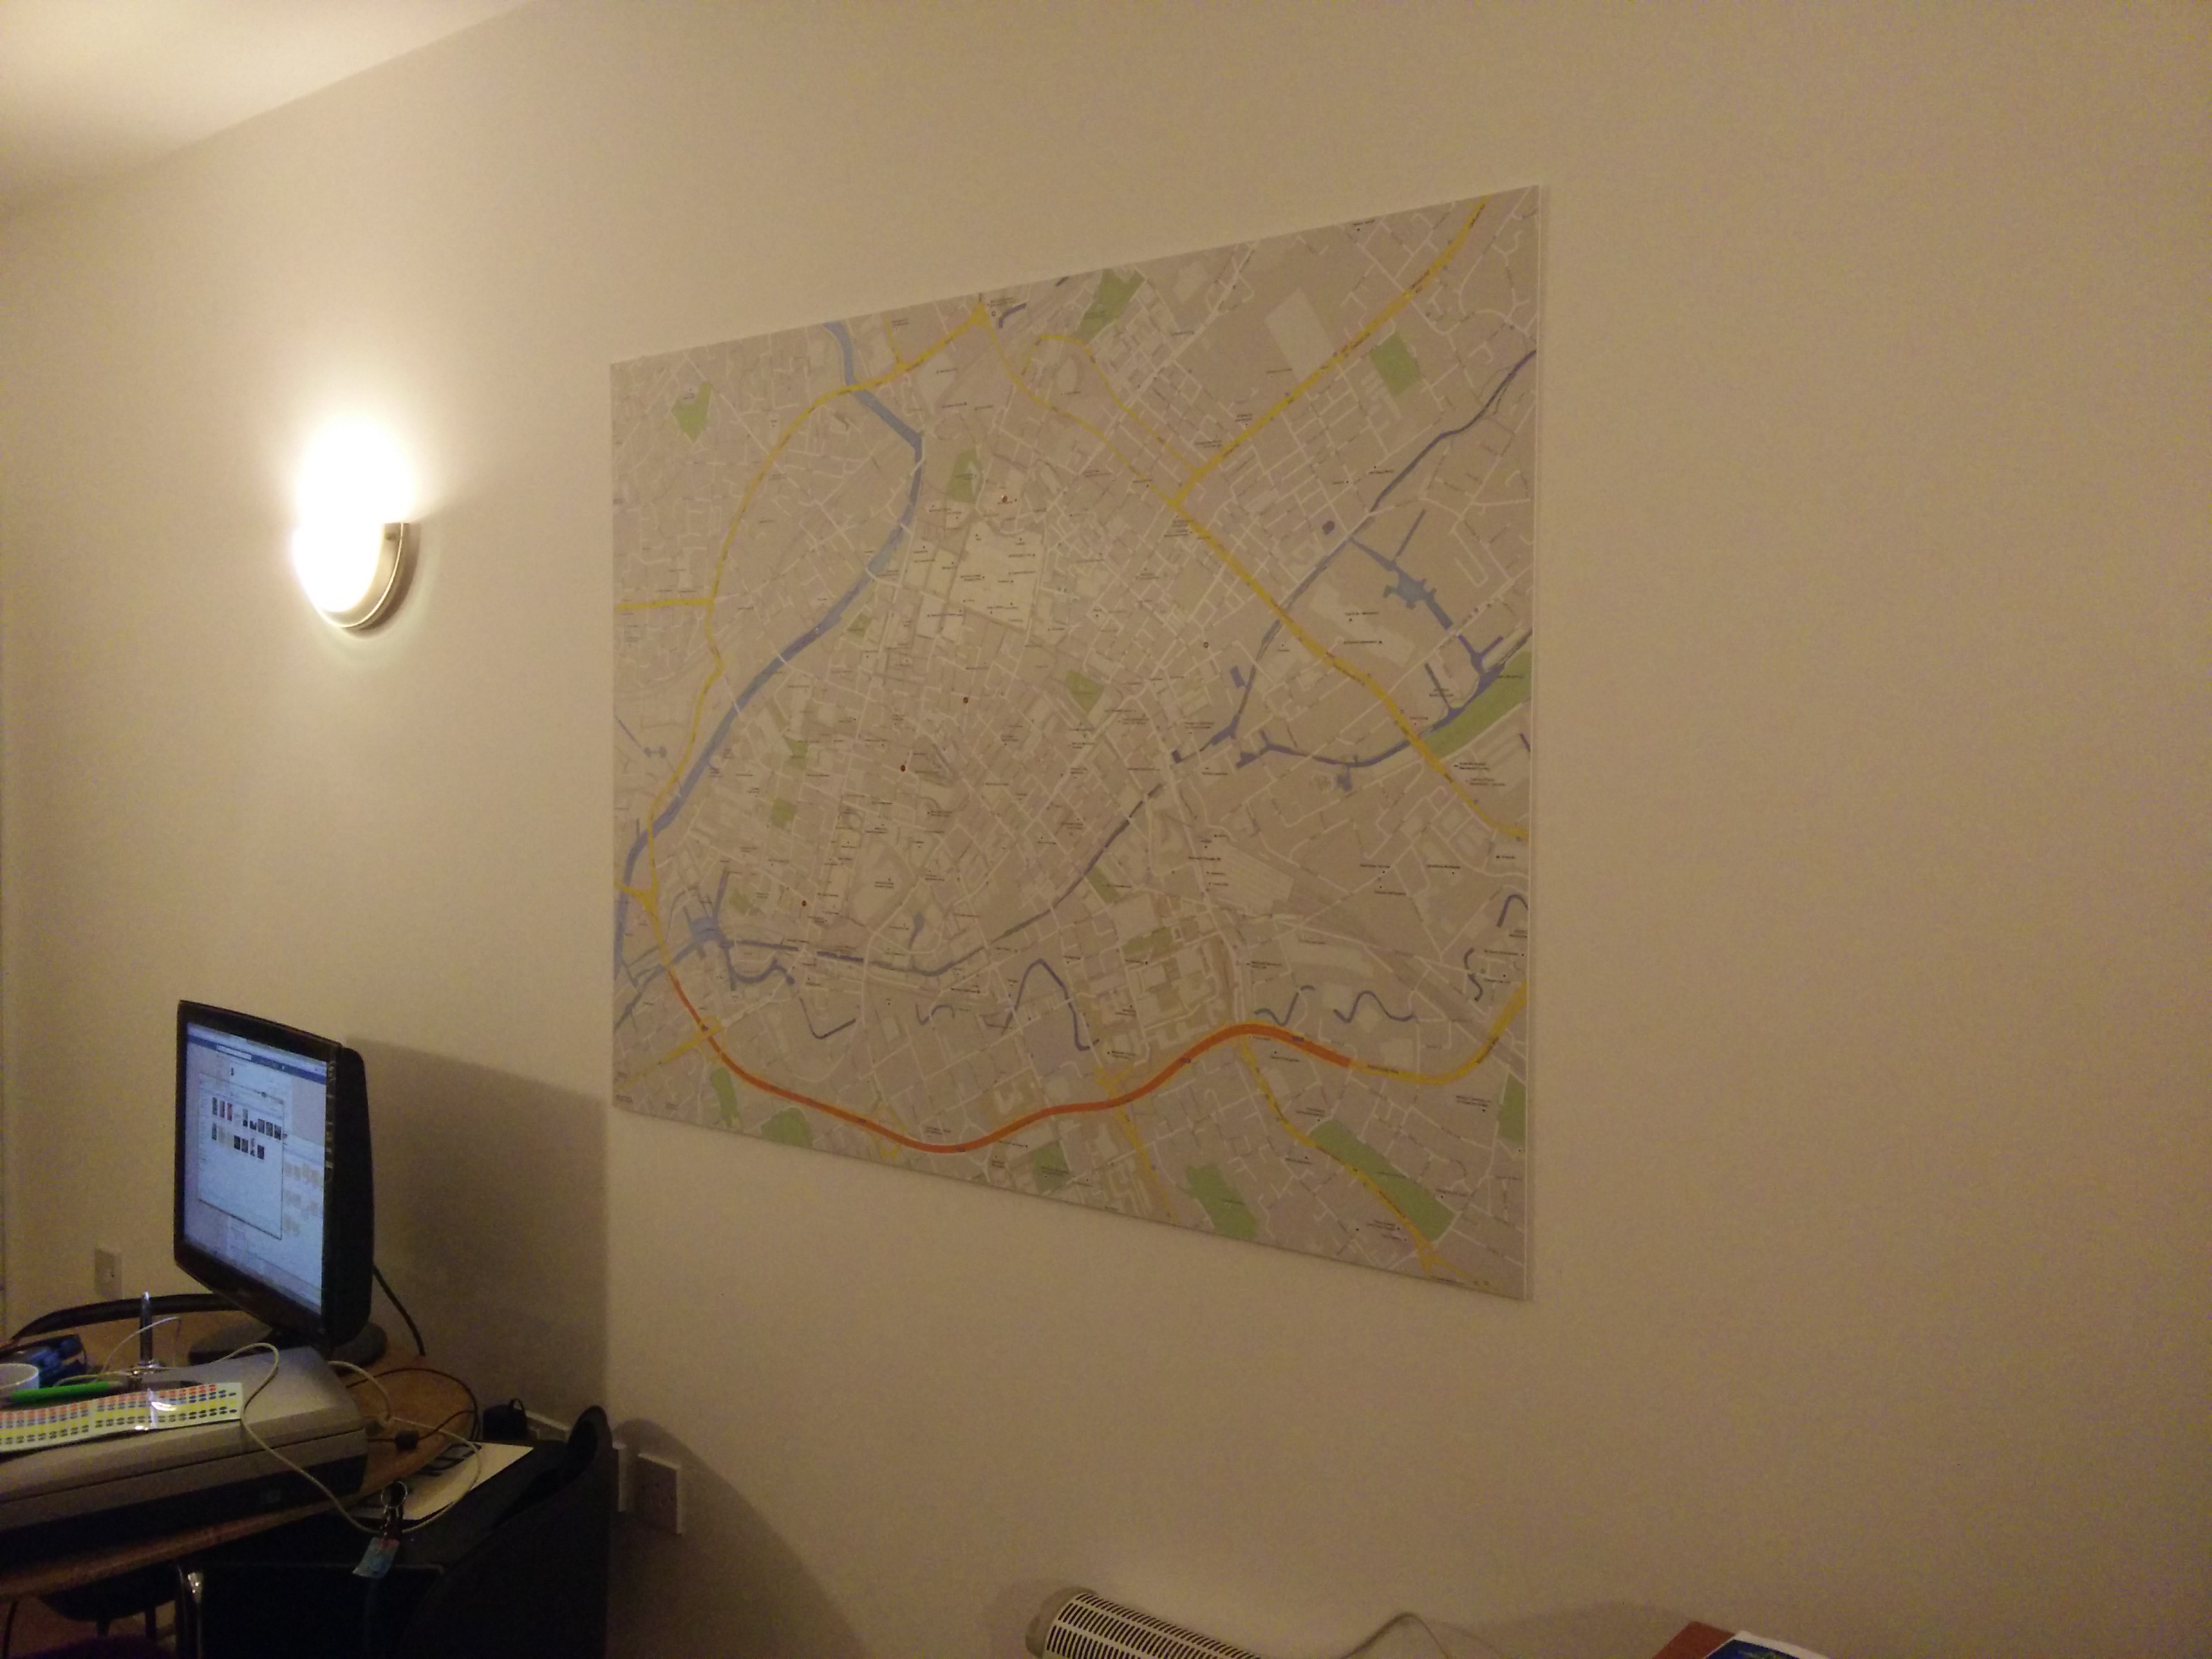
I started by working what map I wanted and what ratio it was to be in. I figured living in the city centre which is surrounded by a ring road would make good bounding area. I went for 16:9 ration as per the standard widescreen ration. The idea was to make it tablet-like on the wall, this should make it more friendly and accessible to anyone seeing it. This meant combining that ratio with the bounding area of the city ring road would lead to some wasted space around the sides, that was acceptable.
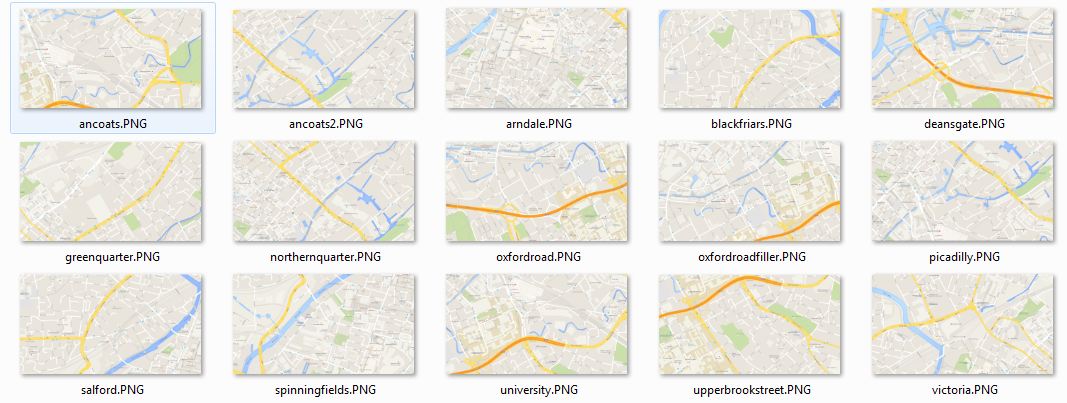
The first thing I needed to do was get the image of the map. Dominik used google maps applauding its correct amount of detail and I had to agree with him. Google maps was the best way to get this done without much input. I screenshot-ed each segment with some overlap between each area and then looked for a way to stitch it together.
I remember using an amazing bit of software called PhotoSynth when I was taking panoramic shots but without a camera that could stitch them together. You basically took the photos separately and PhotoSynth would stick it all together for you. I figured this would work well here, essentially swapping a photo for a map but the concept is the same. This software did it well. Oh I forgot to mention, it’s full name is Microsoft PhotoSynth….. Yes they released a product and it just worked. That’s probably the more amazing story here.
Unfortunately the whole of the ring road didn’t quite make it in the final cut but that’s ok. It was part of Manchester most people avoided anyway :-P
Now I had a high res photo of Manchester, the next step :
Getting it ready for print
First up the materials. Now Dominick used KAPA(also known as Foamex) which is basically a foam board . He then had the printed design of his world map plastered on it, even using the local decorator to stick it on like wallpaper. I was not going to do that. I opted for the we-will-print-on-the-kapa-for-you service.
I found a few services online in the UK that can do this, I went with Pixart Printing. As this was the first time I was doing this I didn’t want to spend too much money, so I went with the thinnest Foamex board they have. This also meant I didn’t have to worry about how to mount, as I would just go for Command Wall Hooks which would hopefully hold all the weight I need.
Essentially to make sure your design translates to their requirement you can download a PDF which has the guidelines for your preferred size then make sure your image fits within those guidelines as well as allowing some bleed around the edges for when they cut.
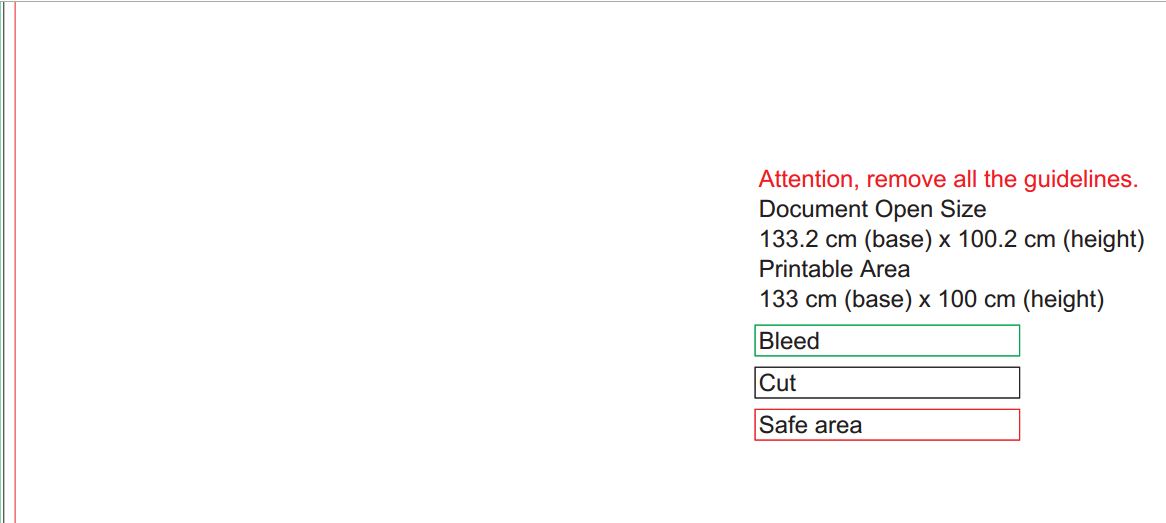
Getting the resolution right was important was well. I deliberately tried to look for the highest resolution printing amiable as maps tend to be viewed close up at some point. Pixart supported up to 300dpi for small and 100dpi on larger media which is not really photo quality but it should be enough to be legible for the size I want. I uploaded a 300dpi file and hoped they would treat it accordingly.
Spec for the rest of the board:
| Material | Foamex |
| Height | 100cm |
| Width | 133cm |
| Depth | 0.3cm |
| Weight | 2.128kg |
This gives me a ratio of 4:3 which is what I needed for my tablet-like board. The weight means that a bunch of Command hooks can hold it quite easily.
I had this sent off and printed, for it to arrive with me then realising I had to carry the damn thing back to my apartment. It was awkward.
Once home, I simply put 4 Command hooks on each corner forgoing the metal hooks they come bundled with as that would require screw mounting.
It took very little effort to complete the mounting.
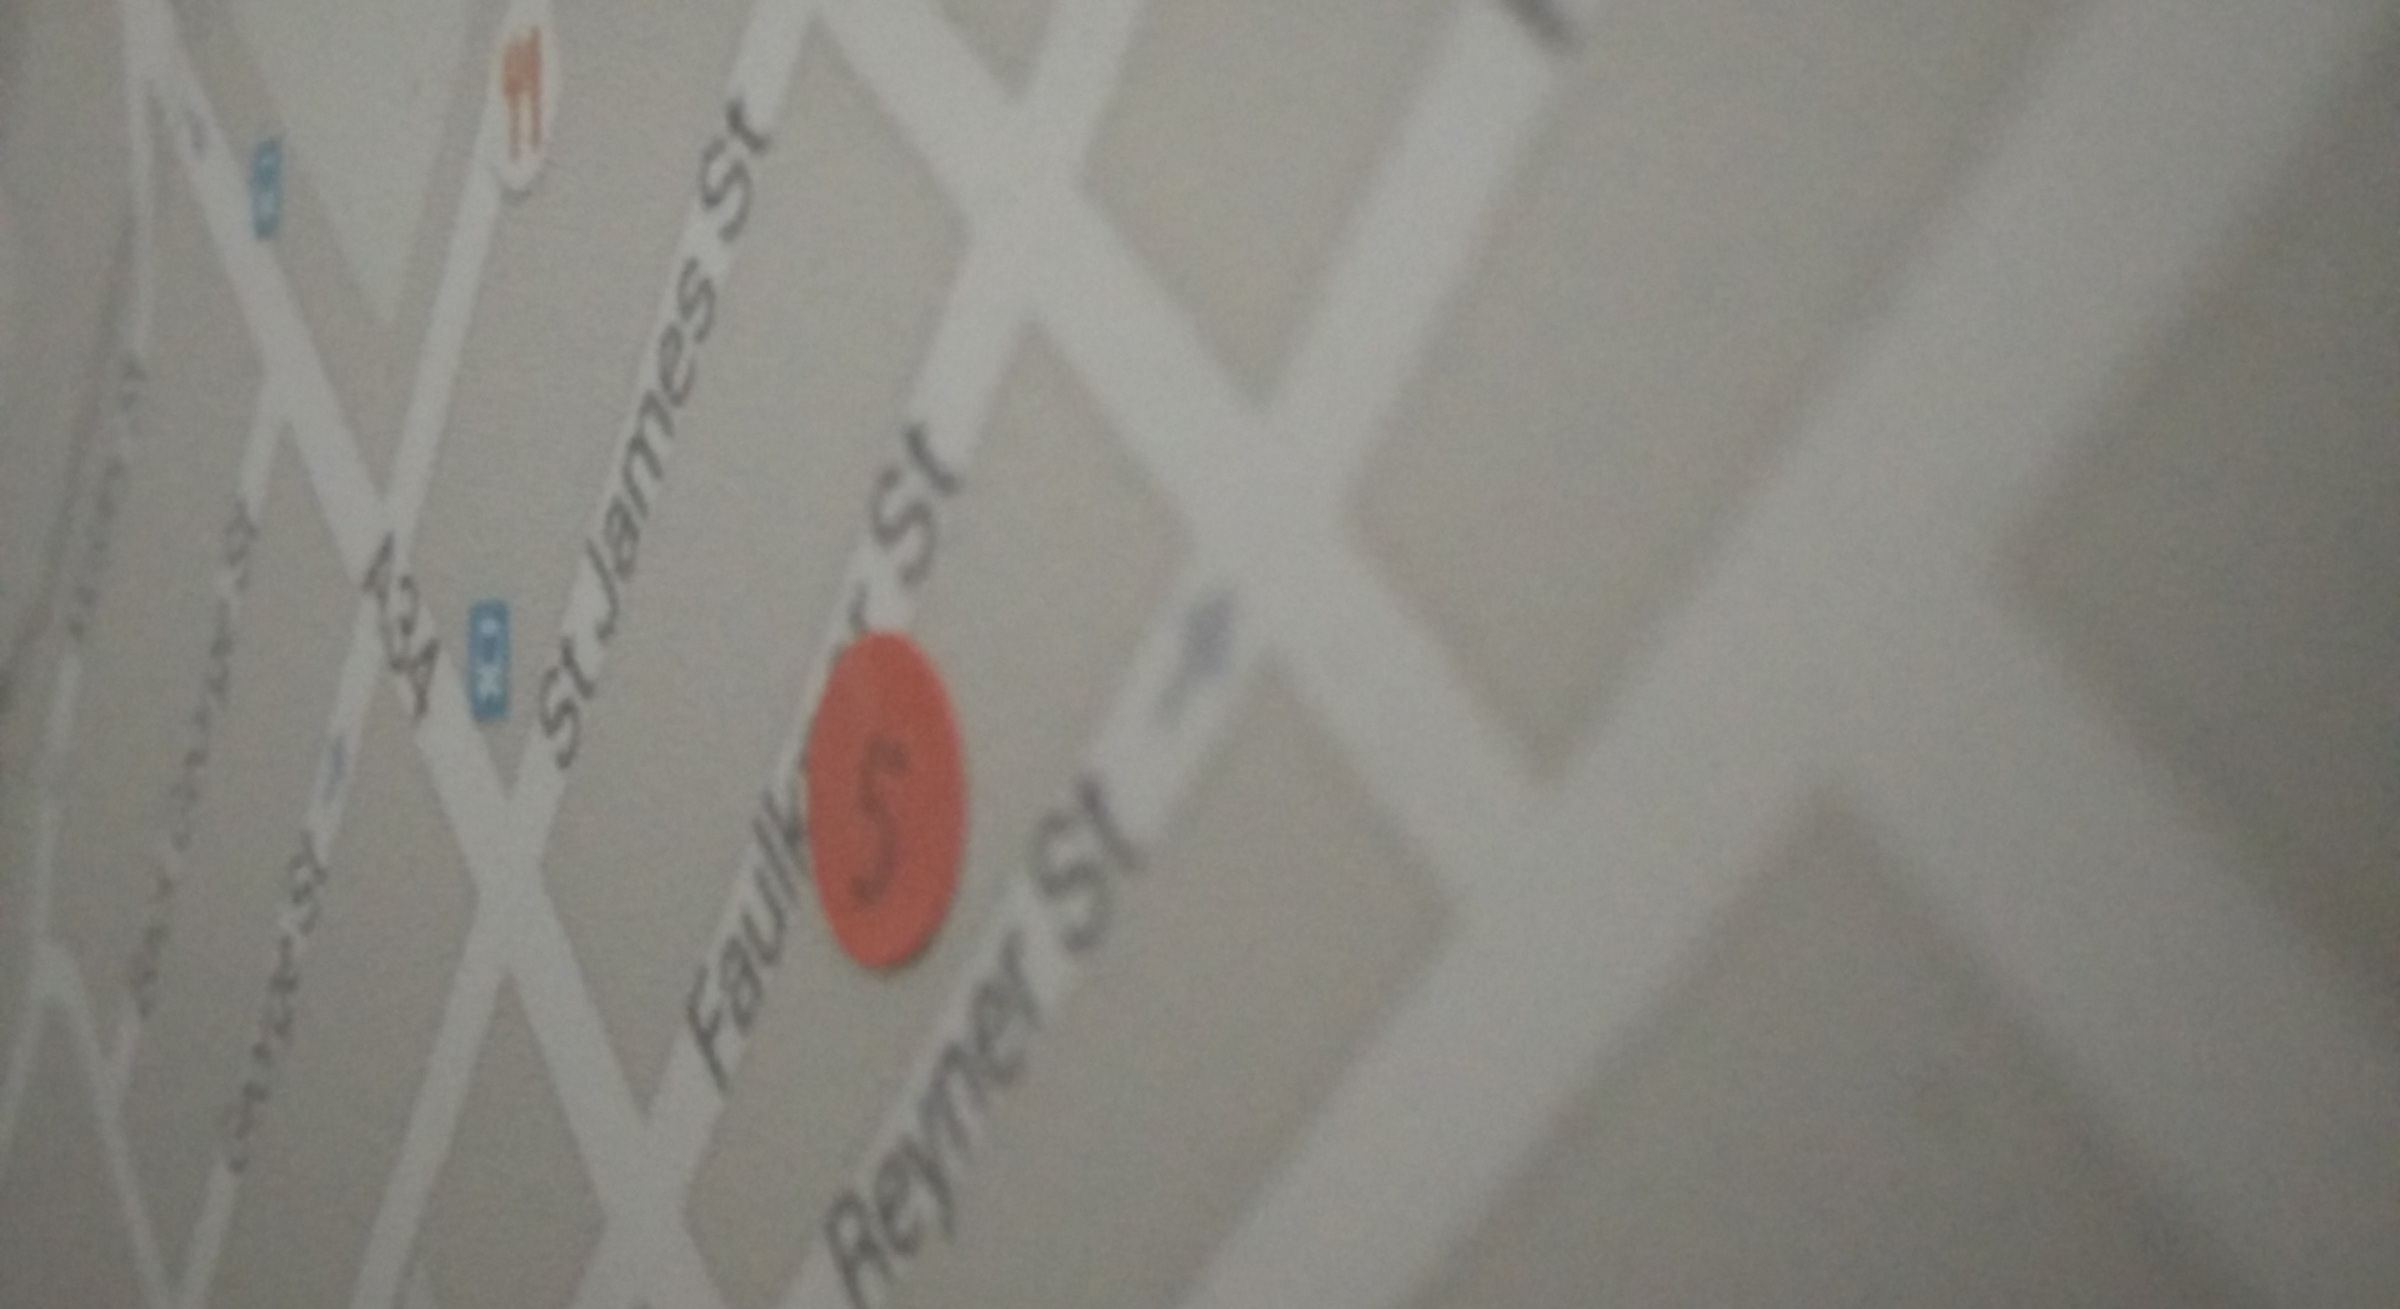
Overall I was very satisfied with the print, even if it was directly printed on the board as opposed to paper. The names were legible, roads and bus stops could be seen and most crucially there was enough scale to be able to pinpoint restaurant locations.
The next problem I had was how do I identify the restaurants and label them accordingly? There were a few iterations of ideas, ranging from small RFIDs and QR codes to simple marker and a book attached to the wall. I settled on coloured dots for easy contrasting of each food venue with a simple numbering system.
And for the complicated part…. A web app to search the number and return the review for the place you are looking for. This development will be covered in another post.
The final part was to personalise it with the coloured dots and slowly get my reviews written.